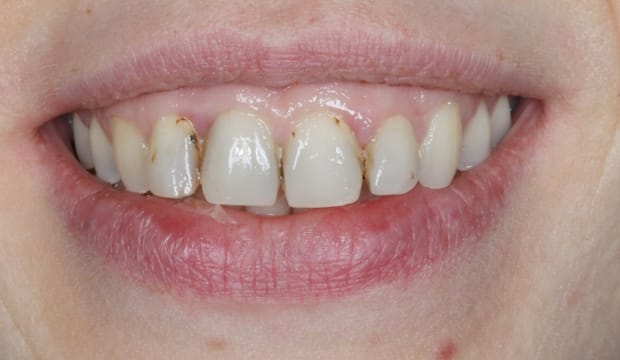
BEFORE
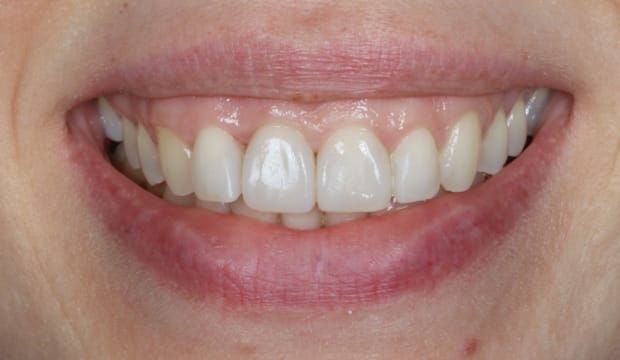
AFTER
How does Composite Bonding treatment work?
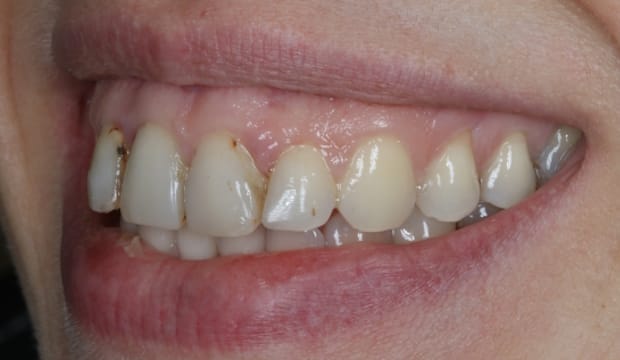
Step 1: Identifying what is wrong with the previous
treatment
Before beginning any aesthetic treatment, the dentist must identify two key factors: the patient’s concerns and the most effective strategy to address them. Photographic records play a crucial role during this stage for accurate assessment and planning.
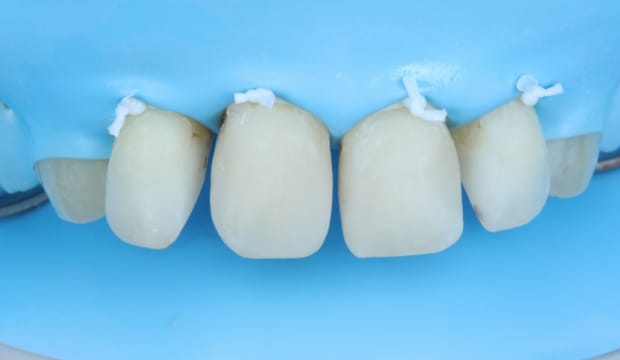
Step 2: Removing old composite, cleaning decay
Composite bonding can be removed from teeth, but the process requires high magnification, extensive experience, and precision. Ideally, the procedure should be performed with rubber dam isolation, as shown in this image. UV light is also beneficial, helping the dentist distinguish between natural tooth structure, ensuring no damage is done to the teeth.
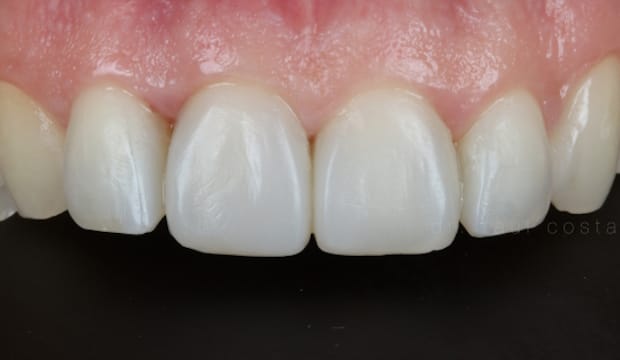
Step 3: Composite layering
Once the surfaces are clean, we start layering the new composite, following shapes that are more in line with the patient’s anatomy. Meticulous composite layering and thorough polishing will ensure long lasting shine and resistance to staining.
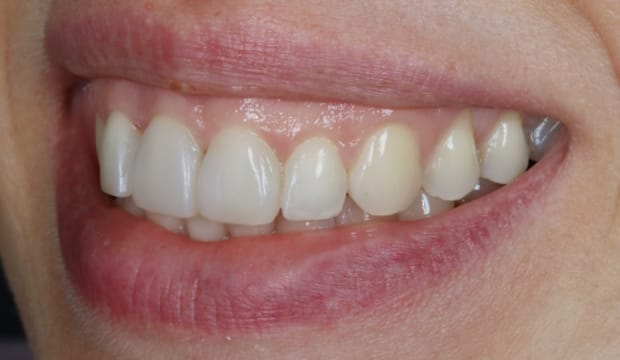
Step 4: Review
Although composite bonding is completed in a single session, it’s important to review the case a few days or weeks later to ensure the patient is fully satisfied with the results. This followup allows us to confirm that the bite is comfortable and the finish is flawlessly polished. Occasionally, minor touch-ups may be necessary for optimal results.
Explore more of our before & afters…
Wimpole St Dental Clinic has strict sourcing guidelines and relies on peer-reviewed studies, academic research institutions, and medical associations. We avoid using tertiary references. You can learn more about how we ensure our content is accurate and current by reading our editorial policy.


