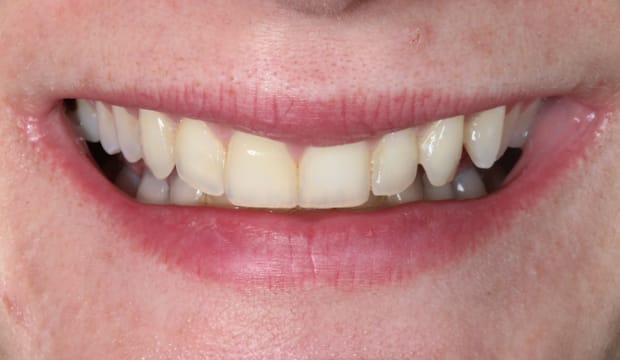
BEFORE
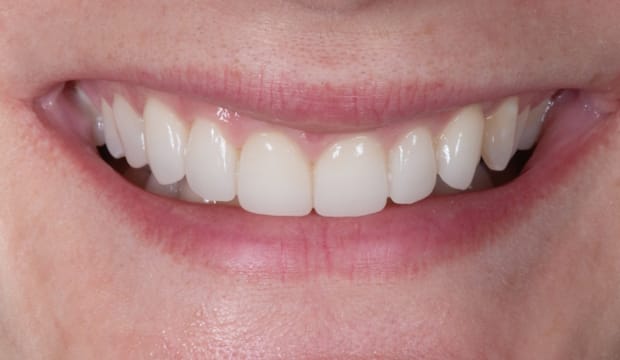
AFTER
How does Veneers treatment work?
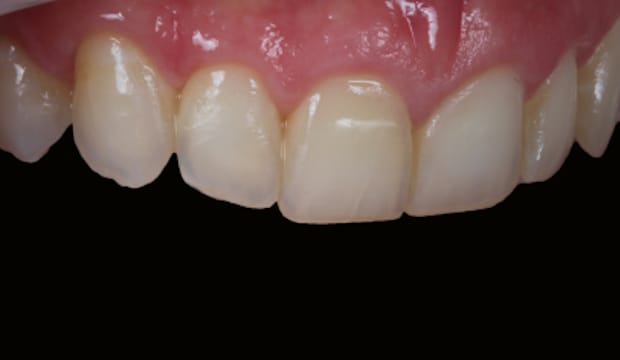
Step 1: Diagnosis
The patient had previously undergone whitening and Invisalign treatments at another practice but remained dissatisfied with her smile. Upon her first appointment with us, we identified the issue—significant wear on her teeth. After listening to her concerns, we concluded that restoring her teeth with ceramic veneers would provide the best long term solution.
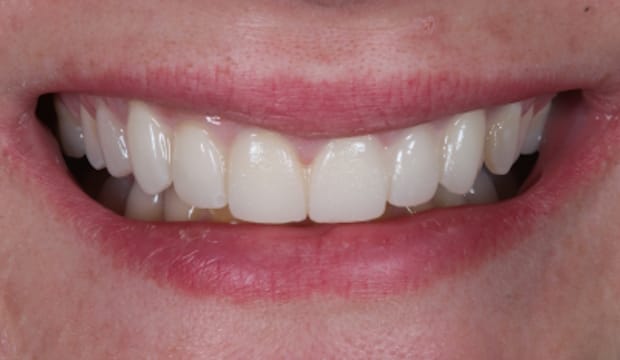
Step 2: Mock up
After we digitally designed her smile, our technician created a “wax-up” – a physical model of what the veneers will look like. This model is then transferred onto the patient’s teeth, which is the best way to visualize the final result before we even begin the procedure. The patient loved the vision of her future teeth.
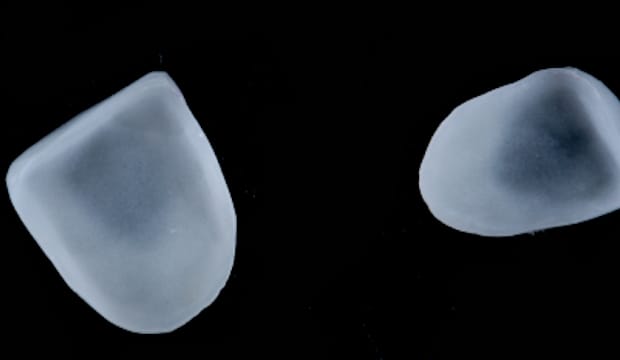
Step 3: Ceramic veneers
With the end result always in sight, the dentist can then prepare the teeth in a super conservative way, without causing any damage. The very thin veneers are then manufactured by a world class technician
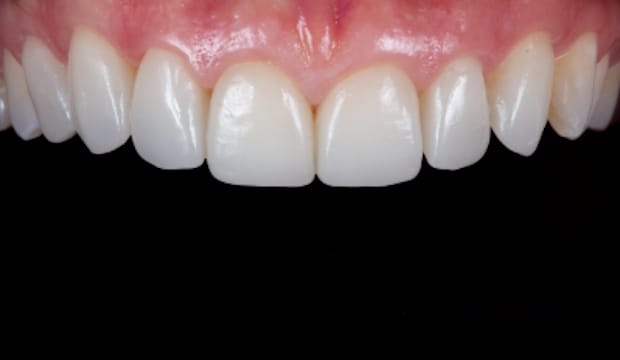
Step 4: Bonding the veneers
Three weeks after the preparation, we are ready to fit the 7 veneers. We begin by trying them on to ensure the patient is completely satisfied with the look and feel. We kept some of the asymmetries of the teeth as the patient desired a natural appearance. The result is a beautiful, rejuvenated smile, whilst the teeth are fully protected from further damage.
Explore more of our before & afters…
Wimpole St Dental Clinic has strict sourcing guidelines and relies on peer-reviewed studies, academic research institutions, and medical associations. We avoid using tertiary references. You can learn more about how we ensure our content is accurate and current by reading our editorial policy.


