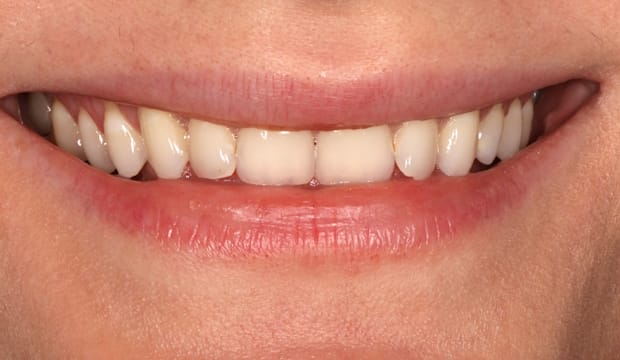
BEFORE
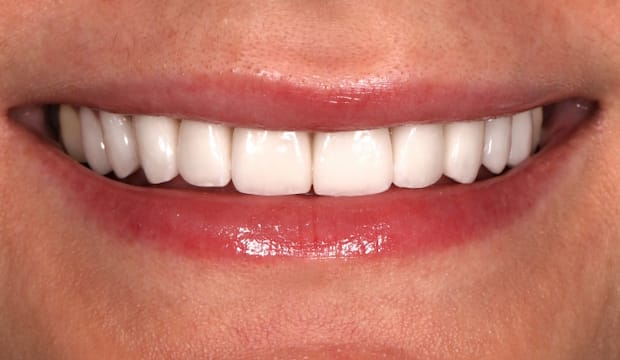
AFTER
How does Veneers treatment work?
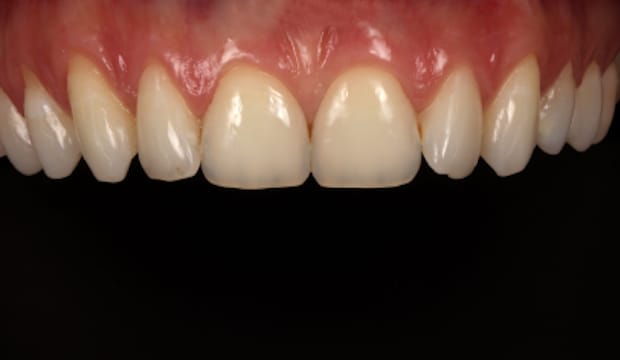
Step 1: Diagnosis
The patient was concerned with the colour, the shape, the position and the reclination of her upper front teeth. She excluded going for orthodontic treatment and wanted the biggest possible change, so she opted for ceramic veneers.
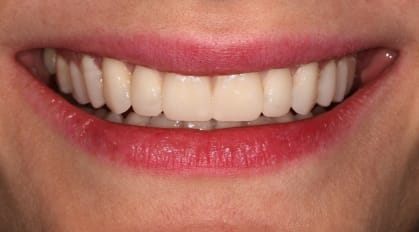
Step 2: Mockup
After the initial documentation with photographs and a 3D scan of her teeth, we visualised the possible outcome digitally and transferred it onto her initial teeth, without any drilling, with removable composite. The patient was happy with this preview of the future veneers, so we advanced for the next step.
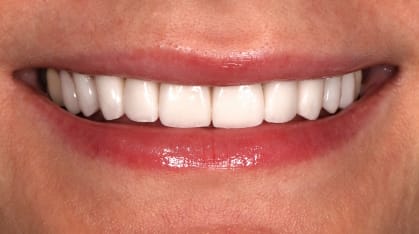
Step 3: Trying the ceramic veneers
We tried the veneers in and the patient loved her smile. The final
outcome is very similar to the mock-up, so there were no surprises.
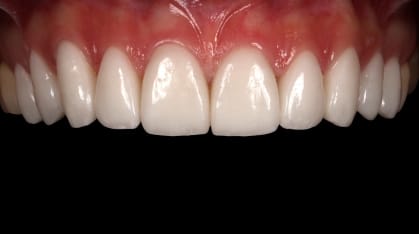
Step 4: Reviewing the veneers
Upon reviewing the case, we could see perfect and healthy gum architecture.
The great work by the dental technician have lead to an aesthetic result.
Explore more of our before & afters…
Wimpole St Dental Clinic has strict sourcing guidelines and relies on peer-reviewed studies, academic research institutions, and medical associations. We avoid using tertiary references. You can learn more about how we ensure our content is accurate and current by reading our editorial policy.


